 |
| From an old t-shirt into a grocery bag |
Something easy, something fun!
I decided to recyle after I realized we would have no time to shop to buy little something gifts because of IC's little accident last December.
I rummaged into my sewing box and found some old t-shirts that I already set aside for future DIY projects. Then I checked the internet for possible inspiration that goes with the motto: something easy, something fun.
Therefore, these grocery bags made from old t-shirts!
What you need:
old t-shirts
a pair of scissors
your sewing machine (or needles and thread)
 |
| the old t-shirt |
 |
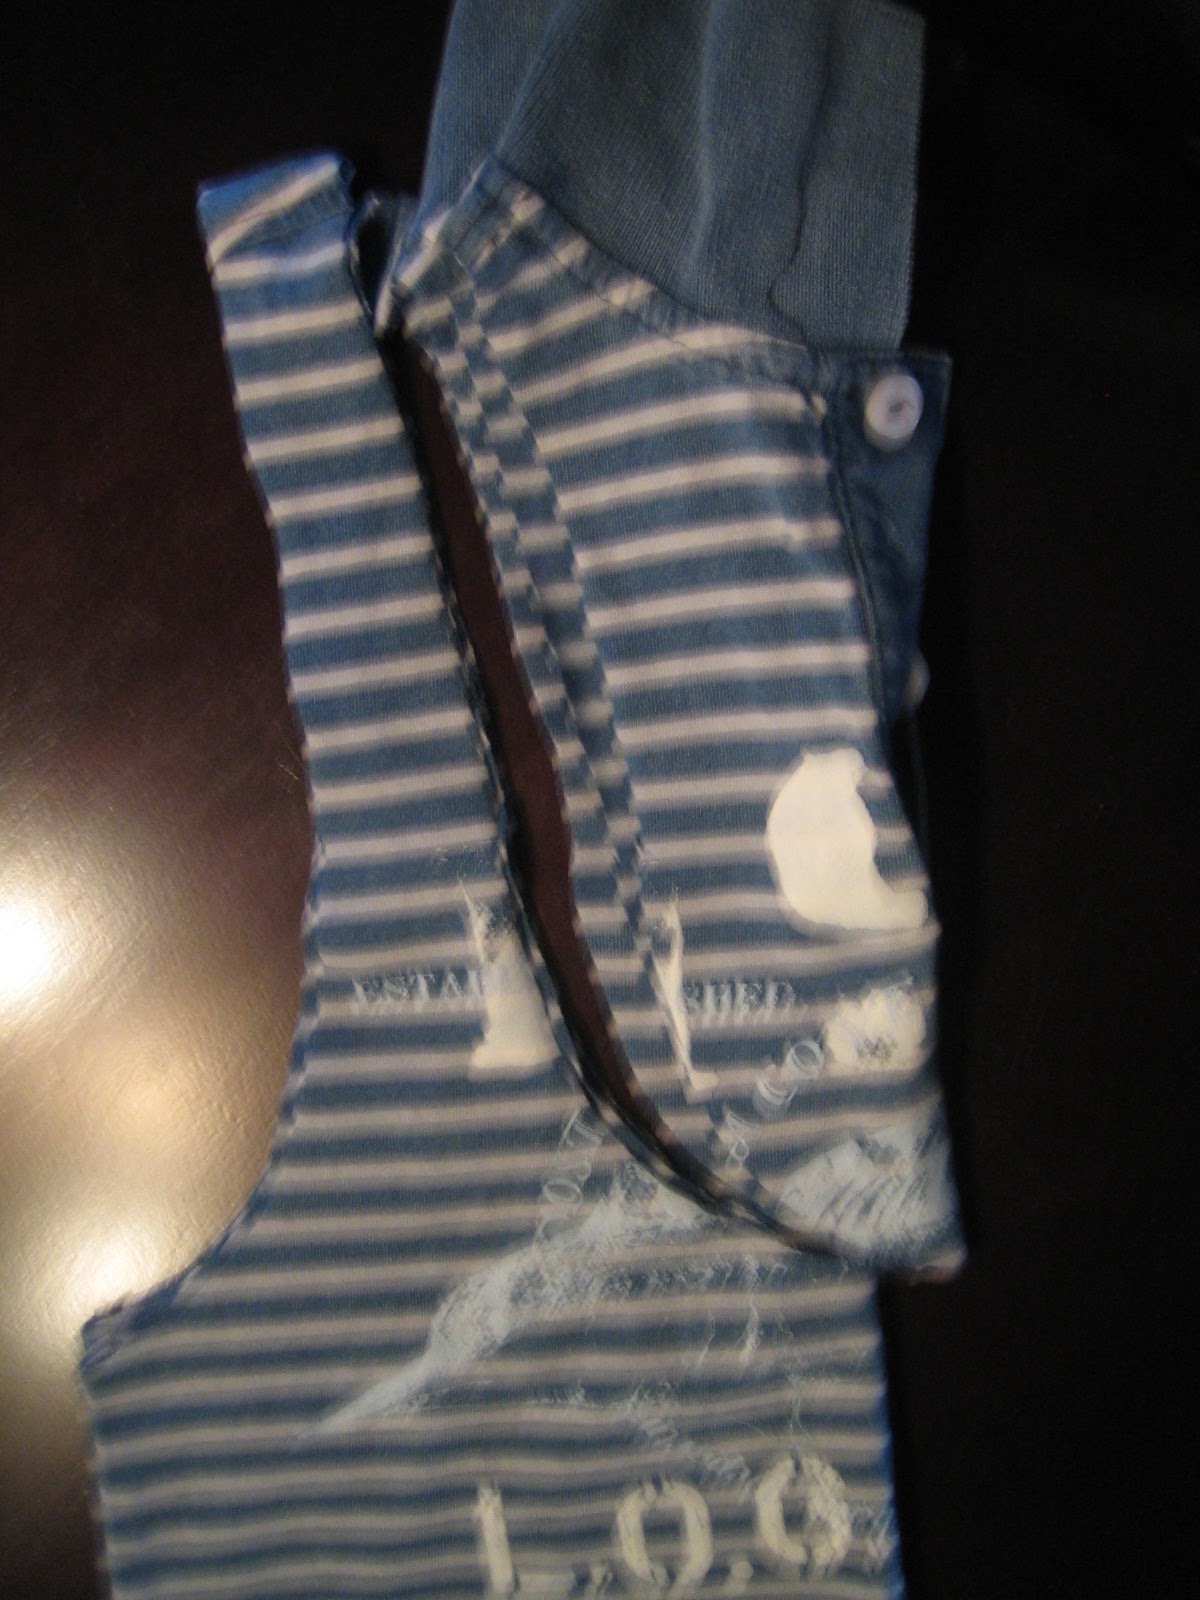
| Fold it |
 |
| Cut the sleeves |
 |
| Cut the neckline |
 |
| It would look like this |
 |
| Turn it inside out |
 |
| Sew the hemlines together |
 |
| Your t-shirt is now a grocery bag! |
 |
You could add some accessories, too.
My girls chose a ribbon, well because, they are girls :-) |
Here are my
other DIY projects.


No comments:
Post a Comment