

Materials needed for the hippie hairband:
Cloth scraps such as denim scraps, at least four equal pieces
Rubber Headband
A Pair of Scissors
Paper
Pencil
Ruler
Thread
Needle
What to do:
To create a heart-shaped template/pattern, use the paper folded twice in the middle. Then draw the arches of the heart on your folded piece of paper. Make sure that the tip of the heart is on the center of the square.

Unfold your paper heart so it would look like a flower. If you want to make necessary changes, just fold it back and cut the heart according to your size preferences.
Now take your scrap of cloth and fold it just like the paper pattern. Make sure that they are as big as your heart-shaped template/pattern. Set the pattern on top of the folded fabric. The tip of the heart must be the center of the folded fabric.

Cut the fabric along the edge. Do this for the rest of the cloth scraps. You would need four heart-shaped cloths. Set aside a small circle, about the size of a coin, from your cloth scrap. You would need this later.

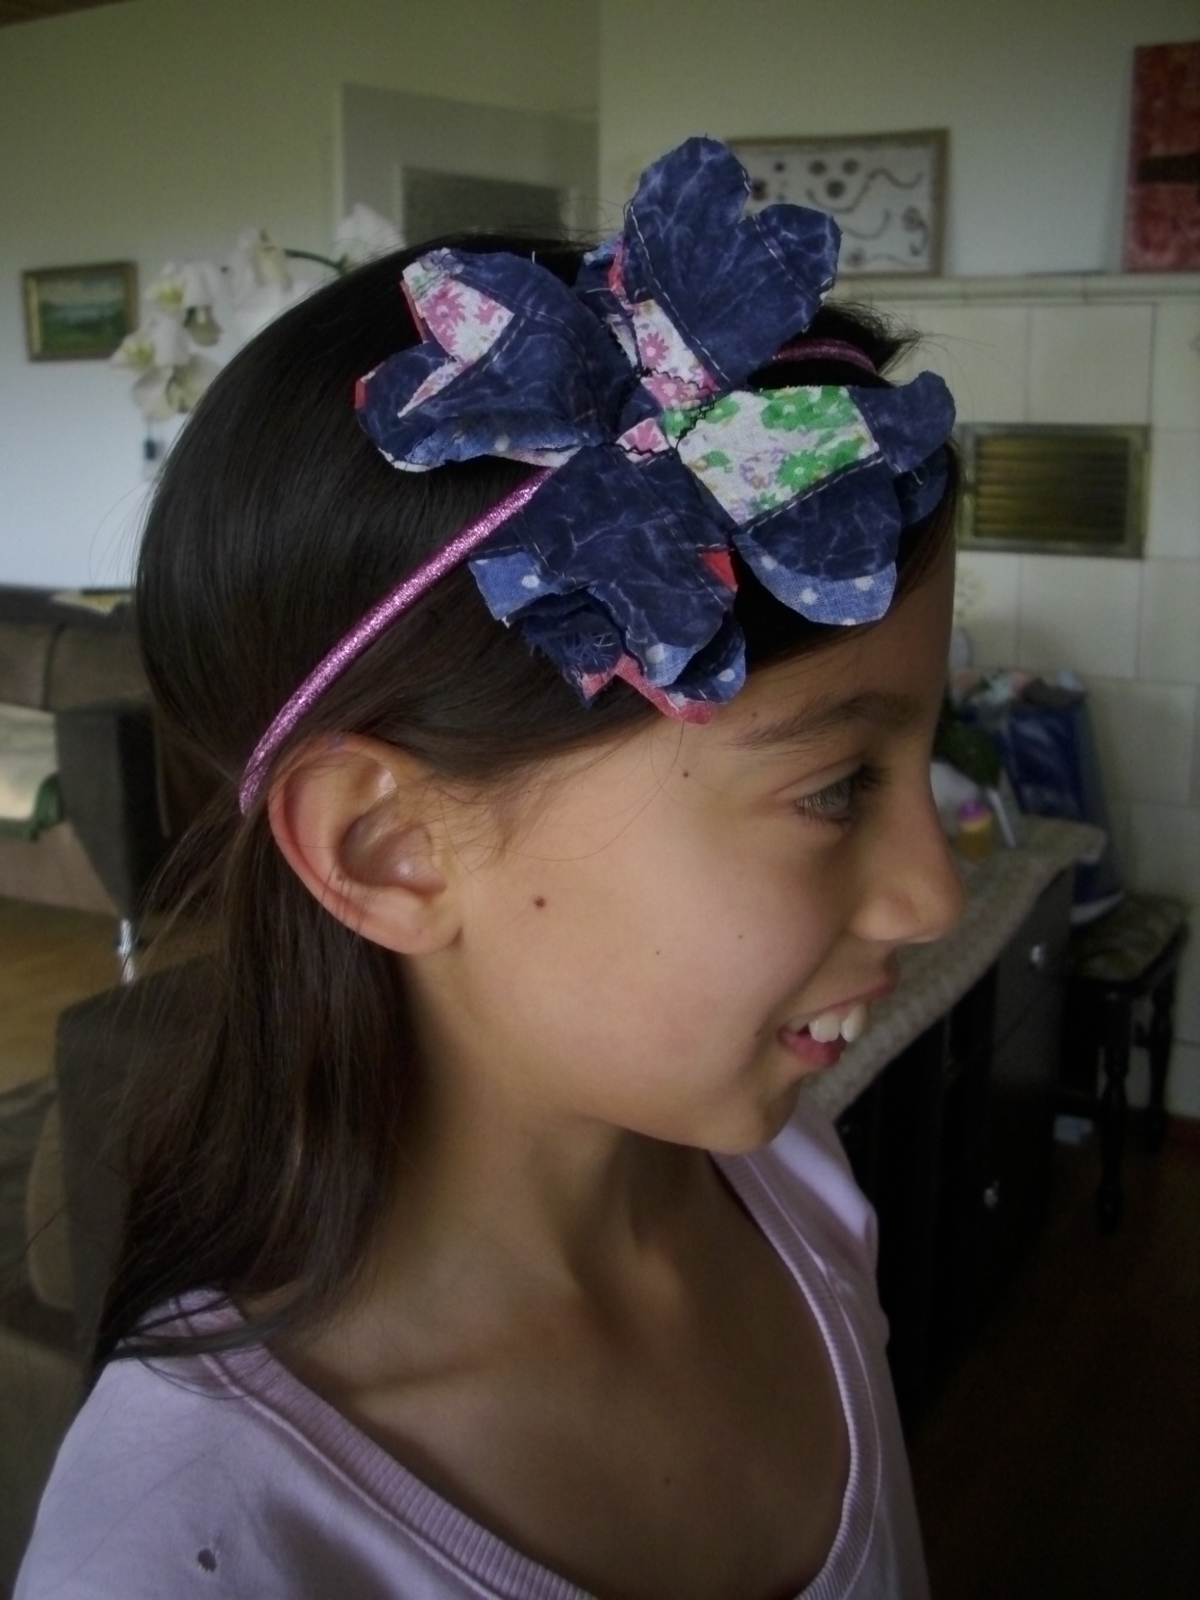
Now place the four heart-shaped cloths on the hairband and stitch them together, making sure that the tips of the heart are facing downwards. Then sew the rounded-shaped cloth in the middle of the hearts to keep them together.
Your Hippie Hairband is done!
I found the original idea here.
More DIY ideas here.
3 comments:
That is one cool headband. I only have one girl and she's not headband-wearing type. Sigh. However, she's over achieving when it comes to grades and hobbies....not just clothes. , so I can't complain.
hi Shoshana, my girls usually love pony tails but since if we do a project together like this hairband, then they love to show them off. and kudos to your girl!
Ang pretty naman! Love it!
Post a Comment