MC doesn't want to wear this pair of jeans anymore. So I decided to make a cut-out shorts for her; still, she refused to wear them.
Therefore, I decided to experiment a little and created this shoulder bag out of MC's old jeans. And she loved it!!
 |
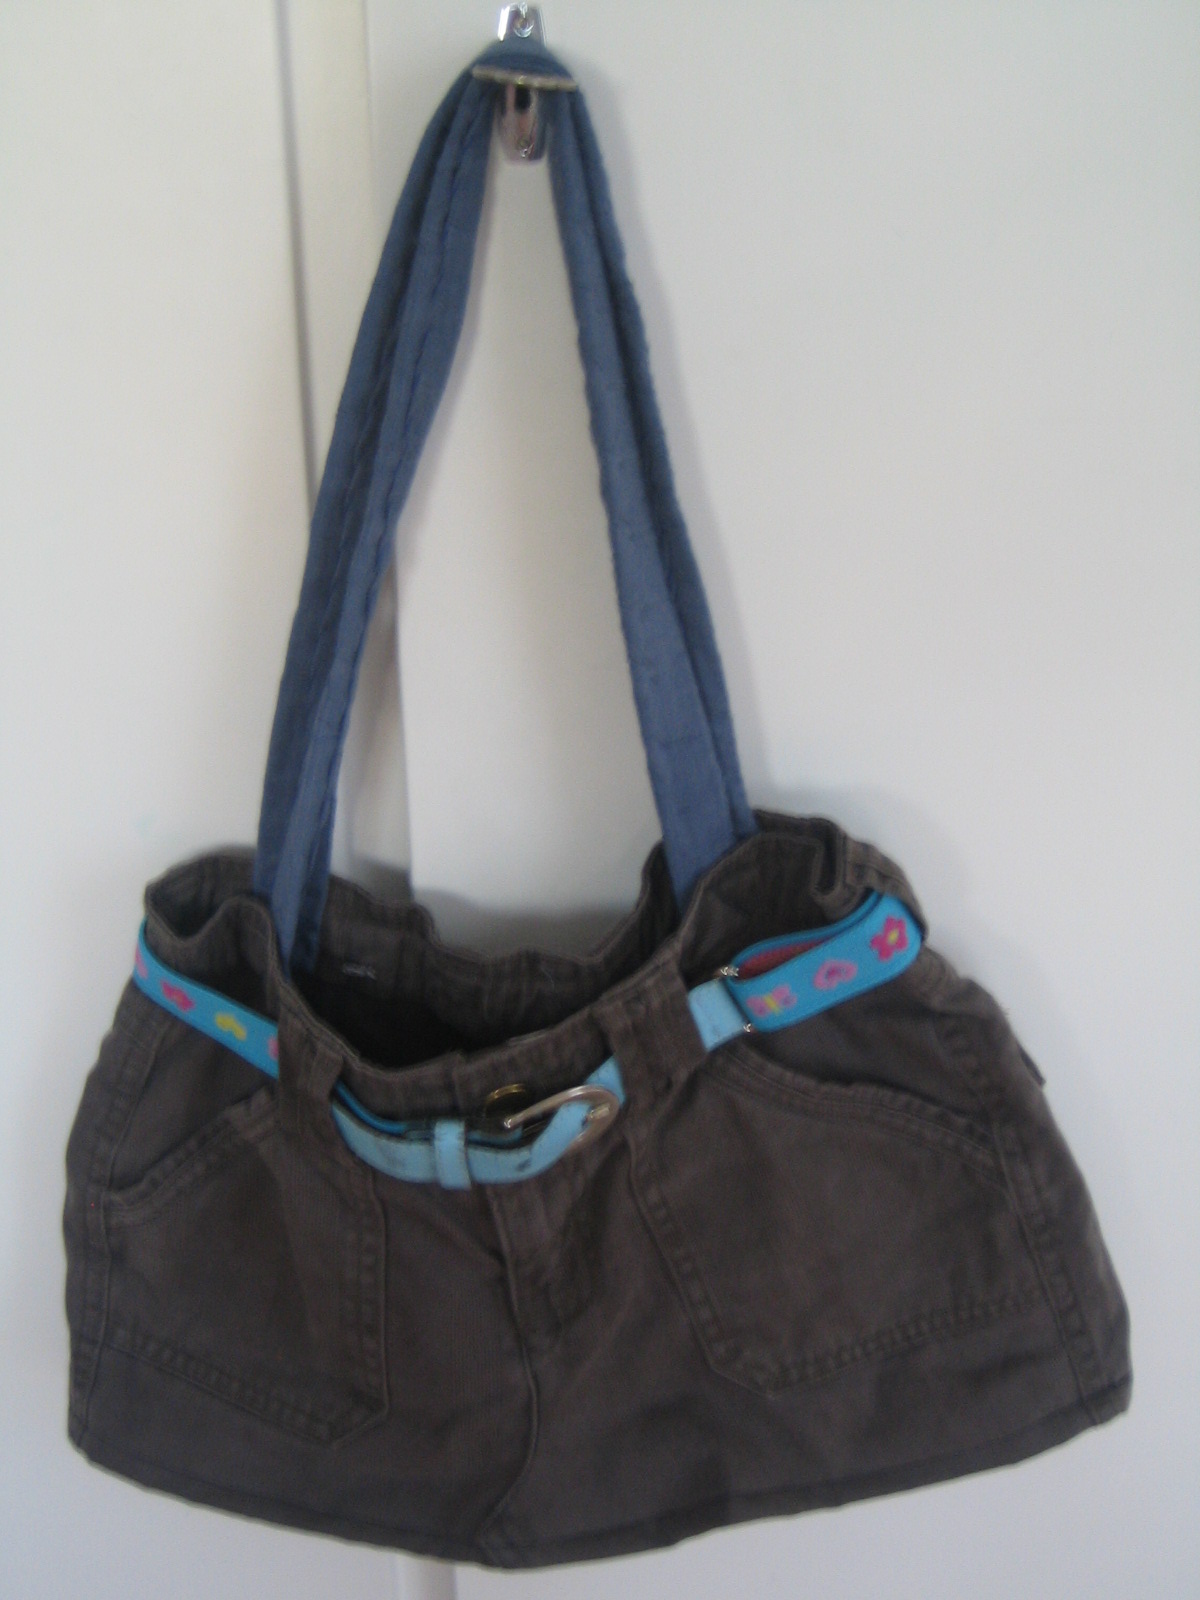
| The shoulder bag made from an old pair of jeans. |
Materials needed:
an old pair of jeans
thread
a pair of scissors
tape measure
extra accessories depending on your design (like an old belt)
sewing machine
 |
First, cut off the bottom of the jeans into the lenght that you desire.
Mine is bit smaller because my little girl is the one who would use it. |
 |
| Then undo the seam between the middle area, front and back -- see above |
 |
| Afterwards, spread the unseamed area and sew them together. |
 |
| Then fold and sew least 3 inches above the hemline. |
 |
| It would look like this. |
 |
| Turn the jeans inside-out and sew the hemline together. The jeans is already with lining so I didn't have to add one. |
 |
| Cut pieces on both ends of the edges. |
 |
| Fold those edges once and sew them. Then turn it again. Then add the bag straps. |
 |
| The bag is done! The belt is a colorful addition. |
.


1 comment:
Super pretty! At may belt pa talaga! hihi!
Post a Comment