I have actually been planning on creating a kiddie bat costume for my girls since I saw a photo of a bat costume using an
umbrella a few months ago. Why? Because I have a broken black and silver umbrella that would fit the bat costume!
The
mummy costume was easier because I have all materials ready, though.
 |
| Bat costume using an umbrella |
But it took me a long, lone time to finish the bat costume because I don't have the proper materials to work on the umbrella spines as suggested
here. It was only when I presented the bat costume idea to IC that I really gave enough thought for an alternative. So here goes, presenting my own version of a kiddie bat costume made from an umbrella.
Materials needed for a bat costume made from an umbrella:
an old black umbrella
a black hoodie
pins
barbecue sticks
a pair of scissors
thread and needles
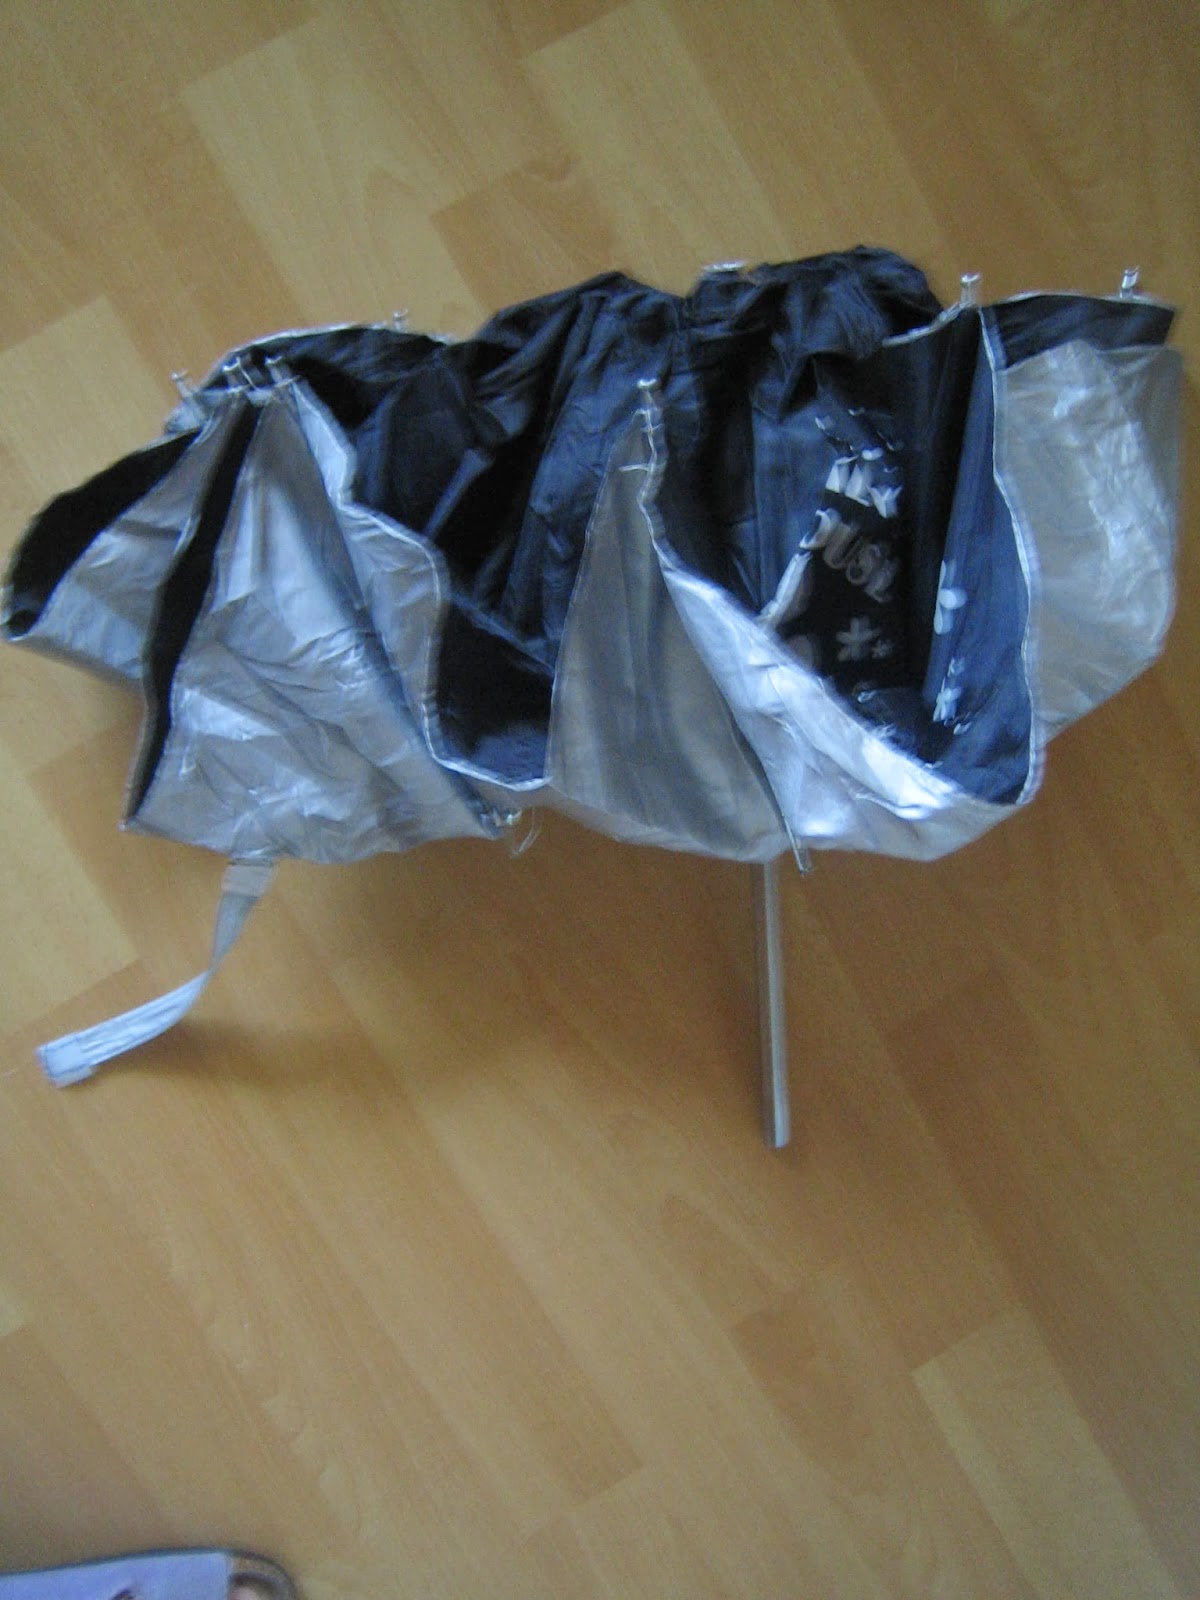
 |
| My old, broken umbrella |
How to create the bat costume:
1. Unscrew the top cap of the umbrella.
2. Remove the umbrella spines by using a pair of scissors to cut the thread around them. Leave the cap on the edge of the spines.
 |
| Cut those thread keeping the spines fixed |
 |
| Keep that round cap in the edge though |
3. Cut the umbrella in half.
4. Place barbecue sticks in the area where the umbrella spines used to be. I needed two so I had to sew them together. Sew them inside out so the cloth would protect them from moving.
 |
| Barbecue sticks |
 |
| I needed two barbecue sticks for the wing span (to replace the spines) |
 |
| Make sure the sticks are fixed by sewing them together inside out. |
5. Then measure the wing span needed for the hoodie's sleeves and fix it using pins.
 |
| The right wing is almost done. |
6. Sew the bat wings.
 |
| Both wings are almost done. I have to remove the thing hanging on the left wing :-) |
7. Cut out ears (I used scraps of umbrella cloth) and sew them on the hood.
 |
| Scrap of umbrella cloth for the bat ears |
 |
| One ear done. |
The kiddie bat costume made from umbrella is done!
 |
| The Bat Girl is ready for Halloween! |
More DIY
here.


No comments:
Post a Comment